Professional organizers don’t wing it. They follow a repeatable system, and it works in a studio apartment or a five-bedroom house. The tools change, but the method doesn’t.
Here is a professional home organizing system you can copy, step by step, without hiring anyone. It’s the same order pros follow with their clients.
Step 1: Define the Problem, Not Just the Mess
Pros begin with questions, not bins. What’s frustrating you daily? Where do you lose time? Who else uses this space?
Write down your top three pain points, such as “can’t find keys,” “kitchen counters always full,” or “closet overflows.” These become your targets, and they keep you from organizing things that aren’t actually causing trouble.
Step 2: Empty the Space Completely
A pro never rearranges around the mess. They take everything out of the drawer, shelf, or closet and lay it on a clean surface. You see what you own, spot duplicates, and notice how much you’ve forgotten.
Wipe the empty space before anything goes back. It’s a small step that makes the result feel fresh.
Step 3: Sort Into Categories
Next, group similar items together: all batteries, all towels, all documents, all cleaning products. This categorizing step is the heart of the system.
When items are grouped, you can see quantity at a glance. Ten half-used bottles of the same product become one, and you stop buying things you already own.
Step 4: Edit Without Guilt
Now you decide what stays. Pros use quick, clear rules:
- Have I used it in the last year?
- Do I like it or truly need it?
- Do I own more than I can use?
- Is it in good condition?
Sort into four groups: keep, donate, relocate, and trash. Removing clutter is the single most important step, because fewer things means less to organize. If you’re unsure, put it in a “maybe” box with a date three months ahead. Anything unopened by then gets donated.
Step 5: Assign Zones Based on How You Live
Pros don’t store things where they look neat. They store them where they’re used. Divide your home into zones: a coat zone by the door, a cooking zone near the stove, a homework zone at the table, a charging zone in the kitchen.
Then follow one more rule: keep daily items at eye level and rarely used ones high up or at the back. This makes putting things away effortless.
Step 6: Choose Containers Last
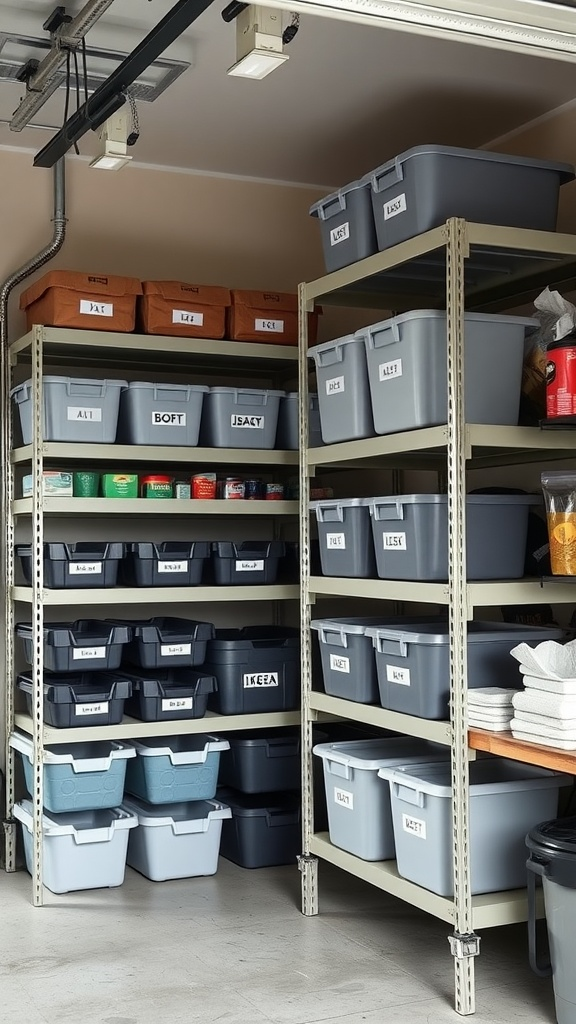
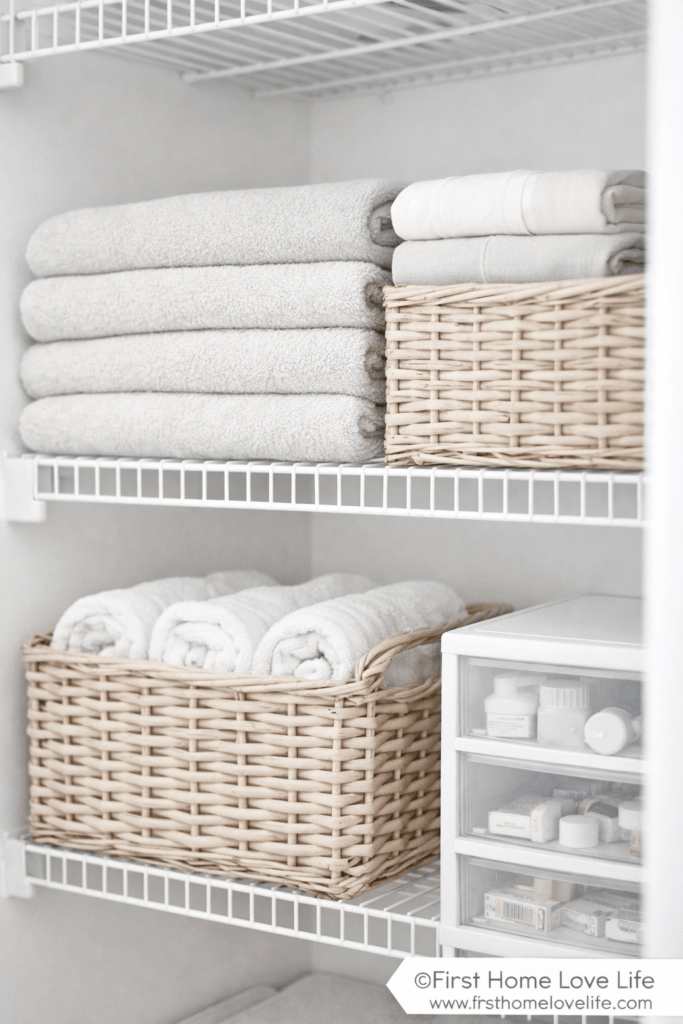
This is the rule that surprises most people: pros buy containers after sorting, never before. Once you know what’s staying and how much space it needs, you can measure and choose the right fit.
Useful options include:
- Clear bins for visibility
- Drawer dividers for small items
- Baskets for soft goods like blankets
- Shelf risers and hooks for extra space
Skip this order, and you’ll end up with containers that don’t fit and items that don’t belong.
Step 7: Label and Maintain
A system only works if everyone can follow it. Use clear labels with short wording, like “Chargers,” “Baking,” or “Winter scarves.” Labels help kids, partners, and guests put things back correctly.
Then build a light maintenance routine:
- Daily reset: Ten minutes each evening putting things back.
- One in, one out: When something new arrives, something old leaves.
- Weekly tidy: Clear surfaces and sort the mail on one set day.
- Monthly check: Review one room or drawer for things to remove.
Good habits protect the system. Consistency beats perfection every time.
Why the Order Matters
Most people go wrong because they jump to step 6 first. They buy bins, then try to make their stuff fit. Pros follow the sequence: define, empty, categorize, edit, zone, contain, label. If you skip a step, the system tends to fall apart.
If you want a day-by-day schedule, read our guide on how to organize your house in 30 days.
Common Mistakes to Avoid
- Buying storage first. Always declutter, then measure, then shop.
- Organizing the whole house at once. Work one zone at a time.
- Keeping “just in case” items. If it’s been a year, let it go.
- Ignoring household habits. Build a system around how you really live.
- Skipping labels. Systems fail when no one knows where things go.
Quick Checklist
- Write down your top three pain points
- Empty one space completely
- Sort items into categories
- Edit into keep, donate, relocate, and trash
- Assign zones
- Measure, then choose containers
- Label everything
- Set daily and weekly habits
Final Thoughts
A professional home organizing system isn’t about fancy products or a perfect look. It’s about doing the steps in the right order and keeping up small habits afterward. Define the problem, empty, categorize, edit, zone, contain, and label.
Start with one drawer today and follow the sequence. For more help, read our post on how to declutter and organize your home, or our guide on how to be more organized at home.