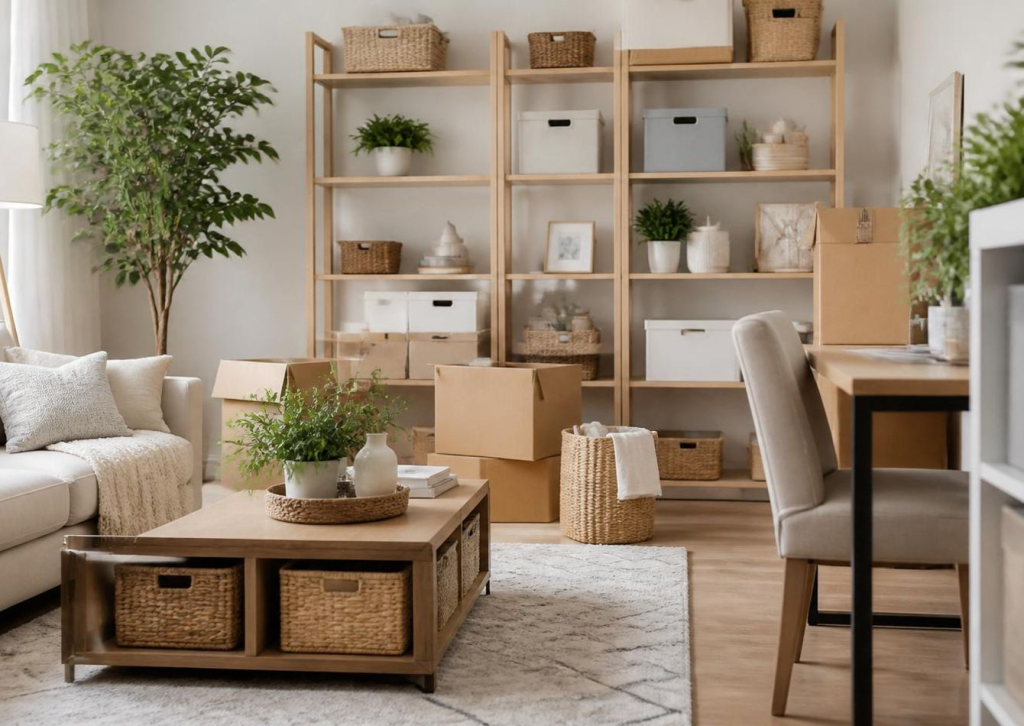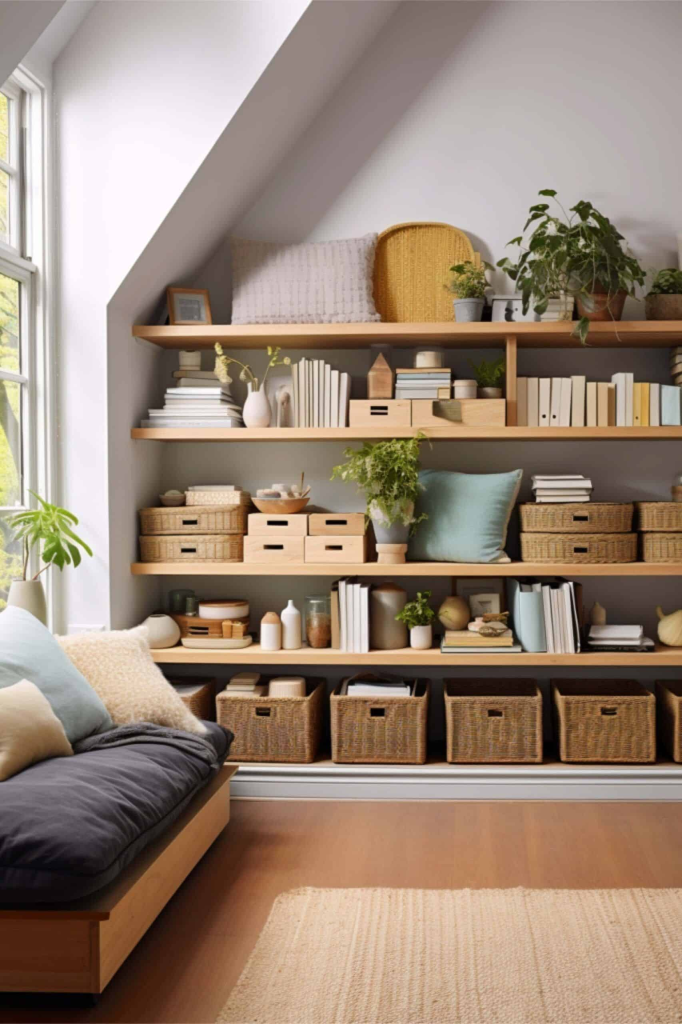
Most people try to tidy their house in one burst and burn out halfway. The mess comes back, and they decide they’re just “not organized people.” The real problem is usually the order of the steps.
If you want to declutter and organize your home in a way that lasts, treat it as two separate phases: first remove what you don’t need, then give what’s left a proper place. This guide shows you how.
Phase 1: Declutter
Step 1: Set a Clear Goal
Decide what you want your home to feel like. Calm? Easier to clean? Ready for guests? Write one sentence and keep it where you can see it. It helps you make decisions when you’re tempted to keep everything.
Step 2: Gather Your Tools
You don’t need much:
- Trash bags
- Three boxes labeled donate, relocate, and keep
- A marker and tape
- Cleaning cloths
Having everything ready stops you from wandering off in the middle of the job.
Step 3: Work in Small Zones
Don’t start with the whole house. Pick one zone, like a drawer, a shelf, or a corner of a room, and finish it before moving on. Small zones give quick wins, and quick wins keep you going.
Step 4: Sort Everything
Take all the items out of the zone and sort them into four groups:
- Keep: things you use and like
- Donate: items in good shape you no longer need
- Relocate: things that belong in another room
- Trash: broken, expired, or useless items
Use these questions to decide: Have I used this in the last year? Do I like it? Do I have duplicates? If it fails the test, let it go. Removing clutter is the hardest part, and it’s the part that makes the biggest difference.
Step 5: Deal With the Piles Right Away
Don’t let the donation box sit in the hallway for weeks. Put it in the car or arrange a pickup within a few days. Return relocated items to their rooms. Take the trash out. Quick follow-through stops clutter from coming back in a different form.
Phase 2: Organize
Only start this phase once the extras are gone. Otherwise, you’ll just organize things you don’t need.
Step 6: Give Every Item a Home
Clutter happens when things have nowhere to go. Choose one fixed place for each item and keep similar things together. Keys go in a bowl, towels on one shelf, chargers in one drawer.
Put items where you actually use them. A can opener belongs near the cooking area, not in a far cabinet.
Step 7: Create Zones by Activity
Group your home by how you live. A coat spot by the door, a homework area near the table, a cleaning area under the sink, a charging spot in the kitchen.
Keep everyday items at eye level and rarely used items on high shelves or at the back. This makes tidying quick, because every item has an obvious place.
Step 8: Add Smart Storage
Now it’s time for storage. Because you’ve already decluttered, you’ll need much less.
- Clear bins let you see what’s inside.
- Drawer dividers separate small items.
- Wall hooks free up floor and counter space.
- Under-bed boxes hold extra bedding and off-season clothes.
- Vertical shelves use wall height in small rooms.
Measure first and buy later. Storage that doesn’t fit becomes new clutter.
Step 9: Label Everything
Labels make a system easy for everyone to follow, including kids and guests. Use short, clear words like “Batteries,” “Baking,” or “Winter scarves.” When a container has a label, people are far more likely to put things back correctly.
Room-by-Room Quick Guide
Kitchen: Check expiry dates, donate duplicate gadgets, and keep counters mostly clear.
Bedroom: Keep only clothes you wear, fold them vertically, and use under-bed storage.
Bathroom: Toss expired products and group items in small bins.
Living room: Clear surfaces, use baskets for blankets and toys, and keep décor simple.
Home office: Keep daily items on the desk, sort paper into act, file, and shred, and tie up cables.
For a full breakdown, read our guide on how to organize your house room by room.
Keep It That Way: Build Habits
Finishing the project is only half the work. These habits keep the results in place:
- Daily reset: Spend ten minutes each evening putting things back.
- One-minute rule: If it takes less than a minute, do it now.
- One in, one out: When something new arrives, something old goes.
- Weekly tidy: Clear surfaces and sort the mail on one set day.
- Monthly check: Review one room or drawer for things you no longer use.
Consistency beats perfection. A few minutes a day does more than a big cleanup every few months.
Mistakes to Avoid
- Buying storage before decluttering. You’ll just store things you don’t need.
- Doing it all in one day. Burnout makes people quit.
- Keeping “just in case” items. If it’s been a year, let it go.
- Skipping labels. Systems fall apart when no one knows where things go.
- Giving up after a slip. Start again the next day.
Quick Checklist
- Set a goal
- Gather tools
- Work in small zones
- Sort into four groups
- Donate and remove right away
- Give every item a home
- Add storage and labels
- Build daily and weekly habits
Final Thoughts
To declutter and organize your home successfully, do things in the right order: remove first, organize second, then keep up small habits. You don’t need a big budget or a free weekend. You need a plan and the patience to take one zone at a time.
Pick one drawer today and start. If you need more help, read our post on how to be more organized at home, or our declutter ideas for the home.